Showing posts with label Tutorial. Show all posts

Saturday, March 8, 2014

simply made saturday: diy souvenir mug

This is one of my favorite DIY projects I've ever done. It warms up my mornings and brings back sweet memories from the best week of my life. I just love it. I was super super super sick with bronchitis for our entire honeymoon (FYI--frozen mango margaritas do not help a sore throat and a cough. But they do taste good. Especially when served in a pineapple) but that first week of marriage and realizing the hugeness of the commitment you just made...it's an indescribable feeling.

Made a twin set even though husband doesn't drink coffee. I like pairs of things. Even numbers=good. Odd numbers=bad.
Obviously we wanted a little something to remember it by. I am a major major coffee drinker. I worked in a coffee shop for three years in high school and ever since I just can't get enough. So everywhere I ever go on a trip I get a coffee mug. However, I don't like ones from typical destination gift shops. I want things to be pretty, and something that says "Port Canavaral Florida" in bright lettering just doesn't do it for me. I go for more elegant design. That said, we didn't exactly use a lot of our time honeymooning for shopping, so instead, we borrowed took  stole adopted two basic ceramic mugs from one of our hotels, and I decided to make them pretty myself.
Just noticed how dusty my coffee table was in this...Drew is our duster cause I have bad allergies and he was asleep still.

This is so easy. You need the following basic items:
  • Plain ceramic mugs (if you feel more morally inclined than I did that week you can get them cheap at Target)
  • Windex (or a cheap knockoff because you're like me and full price=the devil) and a paper towel
  • Ceramic pen--they make these pens specially for these projects. DO NOT use a sharpie.
  • An oven.
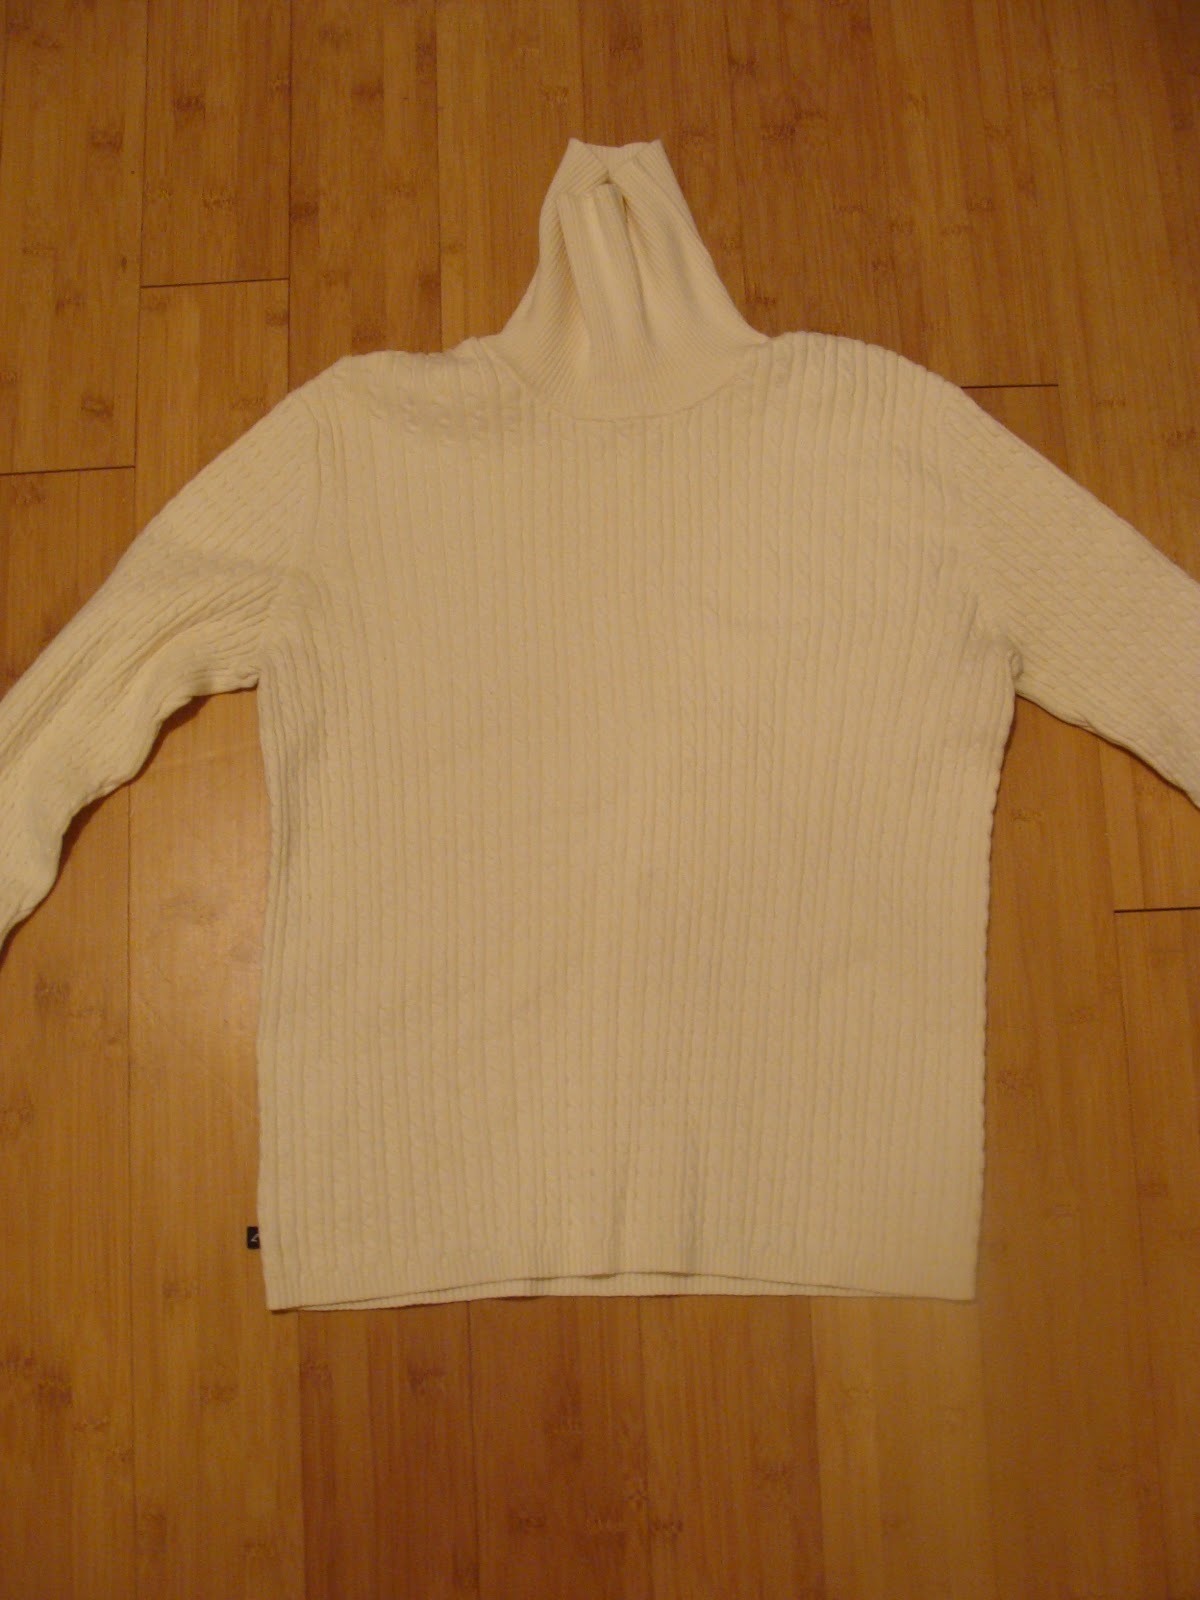
I will never ever get rid of that sweater. You won't see it pictured because it's super unflattering. But sooo  cozy.
Step one: Wear a comfy giant sweater that you never want to ever take off and get in a cozy mood. Then, thoroughly clean your pretty blank white mug that's about to be much less blank.

Why start a new language on the same line as another?? This mystifies me. No bueno.
Step 2: Read the directions on your pen. Follow directions on your pen. Basically, just draw or write whatever your sweet heart desires on this mug that will bring you your morning cup of joy, leave it completely alone for 8 hours and go clean be productive watch an insane amount of Netflix (I recommend An Idiot Abroad). Then put your mug into the oven on a cookie sheet before turning the oven on, shut the oven door, turn it on to 375, and set your timer for 40 minutes. When the timer goes off, remember why you set a timer and go take your mug out of the oven. Then remember to turn said oven off.

It is impossible to get good lighting in an outdated apartment oven. Sorry.
YES you did read the pen right--this is dishwasher safe!! I washed mine right away to see if this was true. It is. I've since washed these a hundred times. No chips. Still lovely.

You see 2 copies of Wuthering Heights here...guess how many I really have...
Most mornings I take a little time to read or journal before I get ready for work. It's a little way to remember some self-care, which is so easy to de-prioritize, and start the day calmly. The days I can actually wake up when Drew does at 5:45 are the best because I can take like a whole hour to myself. So lovely. And my mug sends me a little positive message every day, reminding me that all bodies are beautiful and I am gorgeous just as I am and taking me back to that week full of love, sea air, and peace.

If you make a mug, show me! I love to see what others create (duh, I'm in the arts and culture industry). Send me a link in the comments!

Wednesday, October 30, 2013

Question for other writers using Blogger! HELP!!!!

*DISCLAIMER: This post has been updated. Most recent information found at end of post.

So. I've tried coding for my grab box at least ten times. I can get the button, and the box, but the code to grab keeps not showing up in the box.

I've done everything!! When I open the gadget, the coding is missing where it is supposed to go in the box.


At the end, after the first half of the box code, the part where the code for the button starting with <a=href......blahblablah> keeps getting deleted.

I've read lots of comments....and it seems lots of blogger users are having the same problem.

This tutorial (which is amazing, by the way--the issue just seems to be a problem with Blogger) is what I used to help build it. But no matter how many times I re-try, the code just disappears from my grab box.

Goodwillista, I see your box works! What did you do to make it go? (PS I love your blog. I check in very often. Also, yes I would shop your closet--I forgot to comment so on your post.)

Help! I'm usually really tech-savvy but this is just stumping me.

Also, I'm beginning a Wordpress blog for work (which is how the grabber coding thing started--my blog is sort of our tester until we get it going). Who uses Wordpress as a platform? Is it worth the cost to be able to customize more? My company is a nonprofit so we have to be careful where we do and do not invest.

Thanks!

UPDATE: This wonderful wonderful page had the code for the second half of my gadget that made the button actually work. I kept the coding from the first tutorial linked above for the half of the code that made the button. The coding for the box came from this website.

Sunday, December 2, 2012

TOMS Refashion DIY

Most of you probably know what TOMS are. If you don’t, they basically are a company that matches every pair of shoes purchased with a new pair of shoes given to a child in need. The shoes are cute and comfy as well.

A few years ago, I got a pair of TOMS and have since worn them about out. It’s really sad. There are holes in the toes and on the heel of one as well. As much as I love these shoes, I knew they were in dire need of some help, so I was ecstatic to find this tutorial through Pinterest and I decided to try it myself. Also, I did some things a little differently, but I would highly suggest looking at hers as well before you try your own. She has some great tips.

If you try out this project, please send us your pictures or any tips you find out that I didn't mention. Also, if you would like to see bigger pictures of any of the steps just let us know. 

Supplies:
  • Pair of Old TOMS
  • 1 Yard of Cotton Canvas Fabric (I used canvas because it is more like the fabric the TOMS were made out of)
  • Fabric Glue
  • Scissors
  • Sewing Kit (to see what is in mine look at our previous post)
    • Needle and Thread
    • Straight Pins
    • Seam Ripper
    • Thimble (optional, but highly suggested. I used a lot of pins)
  • Trim of your choice
  • Patches and Iron (if you have holes in the shoes like I did)

Step 1
  1. To start, I had to patch up those awful holes.  I bought a pack of patches that had multiple colors in it, so I used the jean color for the inside of the shoe and the black for the outside. I patched both sides because I've noticed the first place for TOMS to wear out is the toes, so I wanted to make mine last a little longer. I trimmed the loose strings and then cut the patch to be just a little larger than the hole. Because my patches were iron-on, I just pinned the patch in place and ironed. Make sure to use the cotton setting. 
  2. Step 2
  3. Next, I used the seam ripper to remove the TOMS flag from the back of the shoes.
  4. Step 3
  5. I started with the front (toe) of the shoe and simply lined up the edge of the fabric with the line already on the TOMS. I then started gluing on one side and began pinning to hold the fabric in place while the glue dried. Once I had glued it and the pins were in place I cut the fabric around the sole of the shoe. If you are adding trim, you don't have to worry about it being exact because the trim will hide it. Also, I found that you don't need to cover the shoe in glue. You only need to glue down the edges. TIP: I found this part was easier if I stuffed the shoe with paper towels to keep the shape.
  6. Step 4
  7. I then continued to the top of the shoe and glued it the same way as Step 3. When it comes to the "V" or elastic part of the shoe, I just cut as close to the edge as possible. As the other tutorial said, if you cover this section, the shoe might not stretch. You can also see that I only glued the edges in this section.
  8. Step 5
  9. I apologize for not getting as many pictures doing the back section, but it is essentially the same as the other two. Just make sure when you get to the little flag on the side to tuck the fabric under it so you can still see it. Also, if you skipped Step 2, but still want the TOMS logo to show through follow this tutorial on how to do that. I also tucked about a centimeter of fabric on the inside of the shoe and simply glued to help enforce the back section.
  10. Step 6
  11. If you are going to sew the logo/flag on the back, just pin it in place and, as you can see in the top picture, there should still be some holes and so just follow those.
  12. Step 7
  13. For the trim section, I basically just used A LOT of glue, A LOT of pins and I also sewed in some places like where the trim started or where the trim overlapped. The sewing also helped for the turns in the "V." For this section, I highly suggest using plenty of glue. As long as your glue dries clear then you will have no problem.
 Good Reminders:
  • You will want to let the glue set at least 24 hours before wearing the shoes so they don't get ruined. 
  • Also, although this project may look like it won't take very long, it actually is quite time consuming because of the dry time for the glue. Just be patient and keep coming back to it.

I hope everyone's come out as great as mine did and that you will all be able to extend the life of your TOMS and save some money as well.  Remember to send in your pictures and we will feature them here on the blog.

~Elizabeth

Monday, November 19, 2012

How to Shorten a Hemline

This week's tutorial is from a dress I've shown you a few times before. I tried it on to decide what I could do that would make me want to wear it in real life, and decided that a shorter hemline and a belt might totally transform the frock.

Frumpy to fabulous!

This process takes a little longer than some of our other tutorials, but once you learn how to hem for the first time, you will save yourself SO MUCH money at the alterations shop. I'll be slowly modifying this dress in other ways to show you how to do some other alteration basics. Trust me, the extra cash in your savings account is totally worth it. I know I'll be glad I spent time on things like this when I have extra money to finally go on that mission trip to Africa I've been thinking about!
First of all, turn your dress inside out. The pictures don't show that part, because I sort of forgot to do that step first, but it makes the rest of the process easier. Lay it out on the floor (or work table, if you're lucky enough to have one).


Take your hem ruler--it's that really funny looking ruler with sharp edges--and measure up from the current hem to about an inch above where you want your actual hem to be. I wanted the hem to fall about four inches above my knee, and since it initially fell an inch below, I measured six inches up. Use your fabric pencil (or white colored pencil) to mark here.


Repeat that mark all the way across the bottom of your skirt, front and back. Remember, it's meant to be inside out right now, even though mine isn't.


Now take your hem ruler and mark two inches below the line you just made. Again, do this all the way across the skirt, front and back. Take some pins and pin both the layers of fabric together. This will make cutting it easier.


Use your pinking shears (those scissors with the zig-zag blades) and cut along that second line you drew.


We're almost done! Unpin the layers of fabric and start pinning the bottom of the skirt up to the top dotted line by folding that extra two inches in half. Do it all the way around the skirt.


Now, if you have the time and are less lazy than I am, you'll get out your iron and ironing board. I, however, did not feel so inclined, so I took the easy route and plugged in my hair straightener. Use your iron/styling tool to really crease that fold. Trust me when I say an ironed hem is far easier to sew than an unironed hem.


Last step! Find one of the side seams of the skirt and line it up with the needle of your sewing machine. Start stitching, but backstitch a few times before going too far to keep that seam secure in the future. Sew a straight stitch all the way around the skirt. Backstitch again when you reach the end. Cut the excess thread and you'll be done!


The finished hem is much easier to wear. Before, this dress made me feel boarderline Amish, which is not exactly the look a 22 year old wants to flaunt. After, it's a dress I can feel confident in, whether I wear it to my high school friend's annual Christmas party, or just a fun Girl's Night with my favorite people! And the best part, it only cost me about an hour, instead of a twenty minute drive and seven dollars, plus a week-long wait!


One of these days I'm going to make you a tutorial in the morning when my blinds are up and the sun is lighting my room, and I've actually remembered to make my bed and put away the stacks of books that are on literally every surface.

Up next: Taking a dress in. My body is one size on top and one size on bottom, so I always struggle with finding something that fits my whole frame. I'll show you how to fix those dresses that don't quite work to make a piece that is customized for your body!

Tuesday, November 6, 2012

No-Sew Legwarmers from an Old Sweater

Oh, HEY! I've missed you!

I have been absolutely buried in schoolwork and work work for the last three weeks, but now that our annual art auction is finally over, I can actually have a real life again. One of my friends volunteered at the event, and I told her "I've basically become a hobbit." Which she politely corrected to "hermit." I was so tired I couldn't even say my analogy right.

But Elizabeth has written some awesome posts over the last week! Go check them out, guys! Remember her post on thrifted Halloween costumes? Yep, I thrifted mine! Here's a peek!

$4.50 Total Cost!

Anywho. Today is a lovely, amazing cold day. I adore fall and winter. Warm cozies are my favorite. Last year, I wasn't a refashioner, so when I wanted legwarmers and sweater socks, I bought them. At $7 or more per pair, my wintery wardrobe really added up! So, as was requested after last week's scarf tutorial, I made you a new one! No-sew legwarmers, from a thrifted sweater!

Perfect for the fresh cold weather!

Take a thrifted (or just old, we didn't have any sweaters we didn't like so had to hit up Goodwill) like this one...

Sweater and closeup of knit

And then fold it in half, making sure that the sleeves are exactly lined up. The sleeves will be your legwarmers so they'd better match!


Now take a ruler and line it up so that it will be parallel to the end of the sleeve. I couldn't really get a great picture of this step but it basically just means to make sure that the line you cut is the same as the line at the end of the sleeve so that your legwarmers will be even heights.


Using the ruler as a guide, cut the sleeve straight, as shown. (I'm getting pretty decent at taking pictures with my left hand, thanks to this blog!)


Now, put the sleeves on your calves and fold the top edge over, like this:


Scrunch them up around your knees, and then put on your boots, and BAM! Legwarmers. No sewing required!


I felt that I had to include this picture too, since it took me so long to take it. For both of these pictures I had to squeeze the camera between my knees and then push the button while bent over, and try super hard not to twitch. It was quite a task. After I did it I realized I probably just could have asked my parents to take one for me. Oops.


Voila! Any more wintry requests out there? Let us know!

~Kaitlin

Monday, October 29, 2012

Make an Infinity Scarf with One Simple Seam!


This week's tutorial is SO SIMPLE! Really. All it takes is one scarf, a bit of thread, a sewing machine, and about five minutes of your time. FIVE MINUTES! How great is that?


Take a regular scarf, like this:


And fold it in half (right sides together) like this:


Now, put it in your sewing machine, and sew with a 1/4 inch seam allowance (or less, if you're comfortable with it!)


Remember to back stitch along the start and finish of your seam to make it last!

Cut the threads and the corners of your seam...


And BAM! Infinity scarf! Can you believe how fast that was?


What do you want to see next? Some sewing tips, perhaps?